As an Affiliate, We may earn a commission that doesn't cost you extra from qualifying purchases using links in this post. It helps keeps this blog running.
Are you tired of spending hours under the sun or at a tanning salon, striving for that perfect bronze glow? Say goodbye to streaky and uneven results, and welcome the solution to your tanning problems: The Tanning Mitt.
Applying self-tanner can be a tricky task, and one wrong move can leave you looking like an orange zebra. However, with the use of a tanning mitt, not only can you achieve an even application, but you can also prevent any unwanted stains on your hands. Now, you don’t have to wait for summer to get that natural-looking tan all year round; you can do it from the comfort of your own home.
In this article, we will guide you on how to apply self-tanner with a tanning mitt, allowing you to say hello to flawless skin and embrace the envy-worthy sun-kissed glow you’ve always desired. Just like painting a masterpiece, applying self-tanner requires proper prep and the right tools. So, let’s get started on creating a work of art on your body that will leave others wondering how you achieved such an enviable tan. Grab your favorite tanner, and let the transformation begin!
Read A Specific Section
Understanding What A Tanning Mitt Is
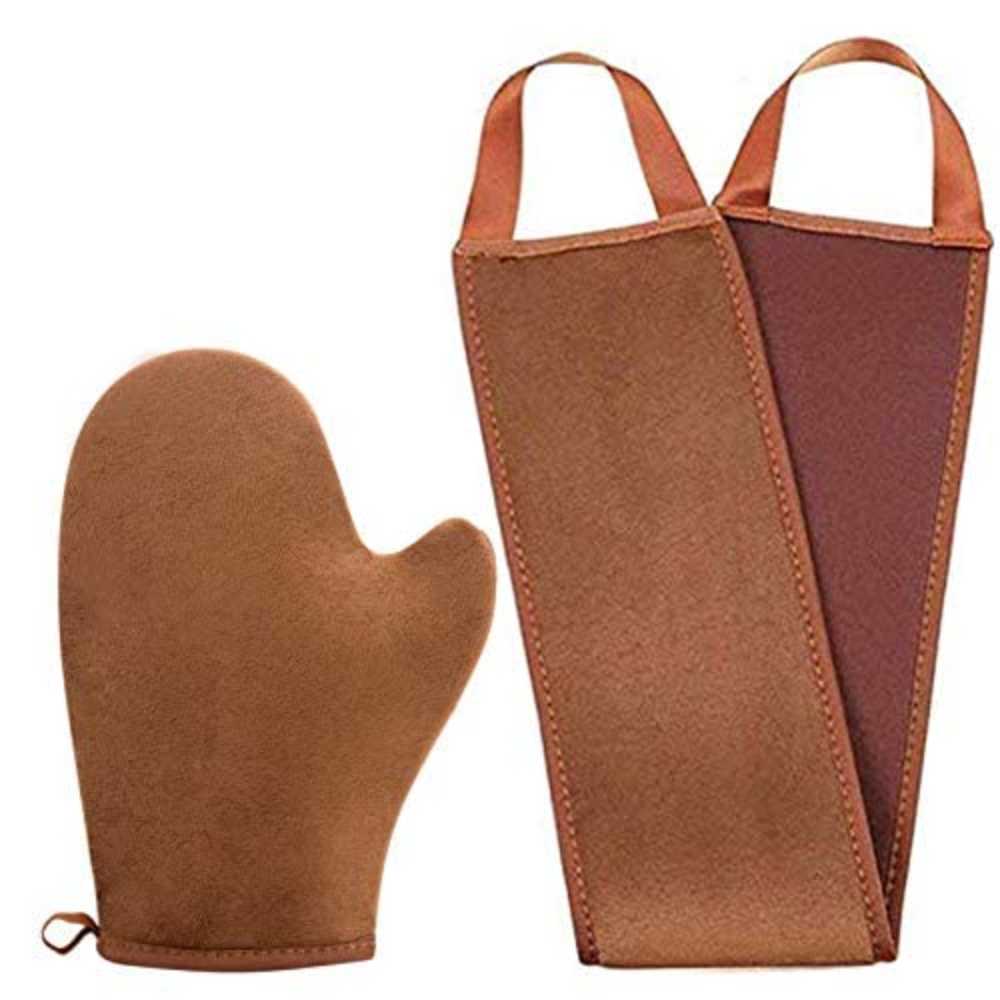
Picture this: you’ve got your favorite self-tanner ready, but how do you ensure a flawless application without ending up with orange palms? You use a tanning mitt. A tanning mitt is a soft, glove-like accessory designed specifically for applying self-tanner onto your skin. It acts as a barrier between your hands and the tanning product, making the application process easier and mess-free.
Using a tanning mitt offers several advantages, especially when it comes to achieving a streak-free and even tan. When you apply self-tanner directly with your hands, the product can often get absorbed unevenly or leave streaks due to the natural contours of your palms and fingers. By using a tanning mitt, you can eliminate this problem entirely. The mitt’s textured surface helps distribute the tanning product smoothly and evenly across your skin, ensuring a natural-looking tan without any unsightly streaks or patches.
Different Types Of Tanning Mitt
Now let’s explore the different types of tanning mitts available in the market.
- Foam Mitt: One popular type is the foam mitt. It features a soft foam surface that works effectively in blending and spreading the self-tanner onto your skin. The foam mitt provides excellent coverage and is easy to rinse and clean after each use.
- Velour Mitt: Another type is the velour mitt. Velour mitts have a plush, velvety texture that feels gentle against the skin. This luxurious mitt allows for effortless application, and its smooth surface ensures the even distribution of the tanning product. Velour mitts are often favored for their durability and ability to maintain their shape over time.
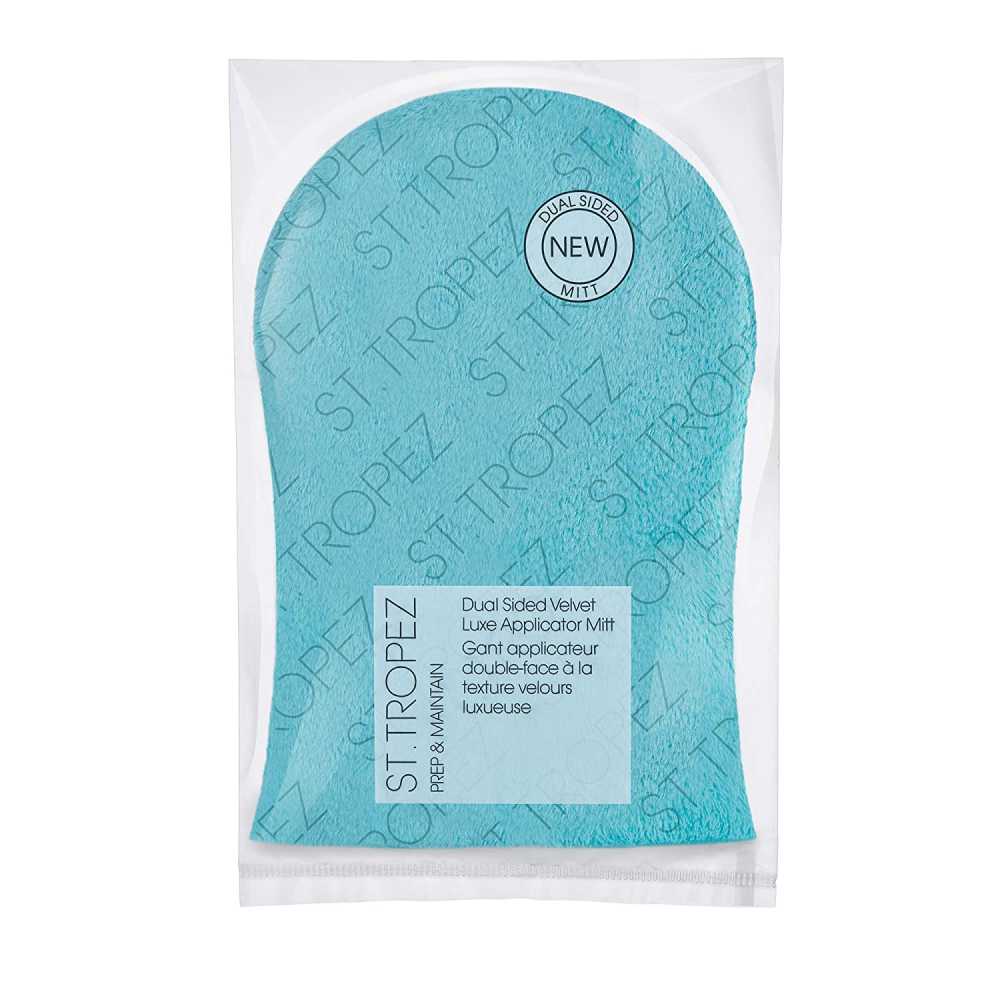
- Double-Sided Mitt: There are also double-sided tanning mitts available, with one side suitable for the body and a smaller, more precise side for facial application. These versatile mitts offer convenience and flexibility in achieving a consistent tan all over.

By using any of these tanning mitts, you can enhance your self-tanning experience and achieve a beautiful, streak-free tan. So, embrace the tanning mitt and enjoy a smooth, streak-free self-tanning adventure with confidence!
Preparing for Self Tanning
So, you’re ready to achieve that gorgeous, sun-kissed glow and want to ensure your self-tanning experience is a success? Well, my friend, preparation is key! Before diving into the world of self-tanning and achieving that gorgeous sun-kissed glow, it’s crucial to prepare your skin properly.
Let’s walk through the essential steps to ensure your skin is ready for the perfect self-tanning process. Trust me, a little extra effort, in the beginning, will go a long way in achieving that flawless, natural-looking tan you desire.
1) Exfoliate Your Skin
First things first, let’s talk about exfoliation. It may sound like an extra step, but trust me, it’s crucial for achieving an even and long-lasting tan. Taking the time to exfoliate and moisturize beforehand will help you achieve a more even and long-lasting tan. Exfoliating helps to remove any dead skin cells, ensuring a smooth canvas for your self-tanner. When you exfoliate, you’re allowing the self-tanner to be evenly absorbed, resulting in a streak-free finish. Remember, nobody wants patchy tan lines!
To exfoliate your skin effectively, follow these steps:
- Begin by wetting your skin in the shower or bath.
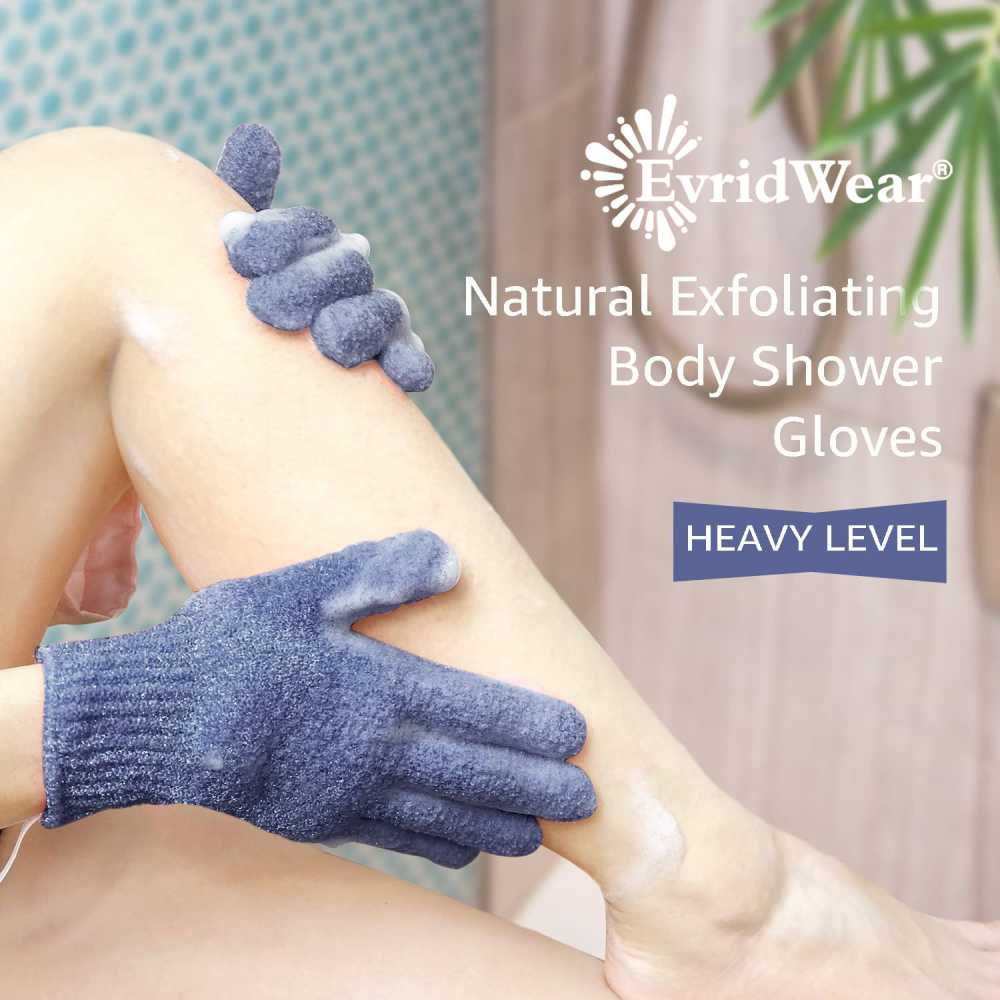
- Take a gentle exfoliating scrub or glove like the Evridwear Exfoliating Dual Texture Bath Gloves, and apply it to your body in circular motions.
- Pay special attention to rough areas, such as elbows, knees, and ankles.
- Rinse off thoroughly to remove any residue from the exfoliator.
- Pat your skin dry with a towel.
2) Moisturize Your Skin
Now, let’s move on to moisturizing. Hydrated skin is happy skin, and when it comes to self-tanning, it’s no exception. Moisturizing your skin prior to application helps to prevent the self-tanner from clinging to dry areas, such as elbows, knees, or ankles. It also helps to extend the life of your tan, keeping it looking fresh and vibrant for longer.
To moisturize your skin properly, here’s what you should do:
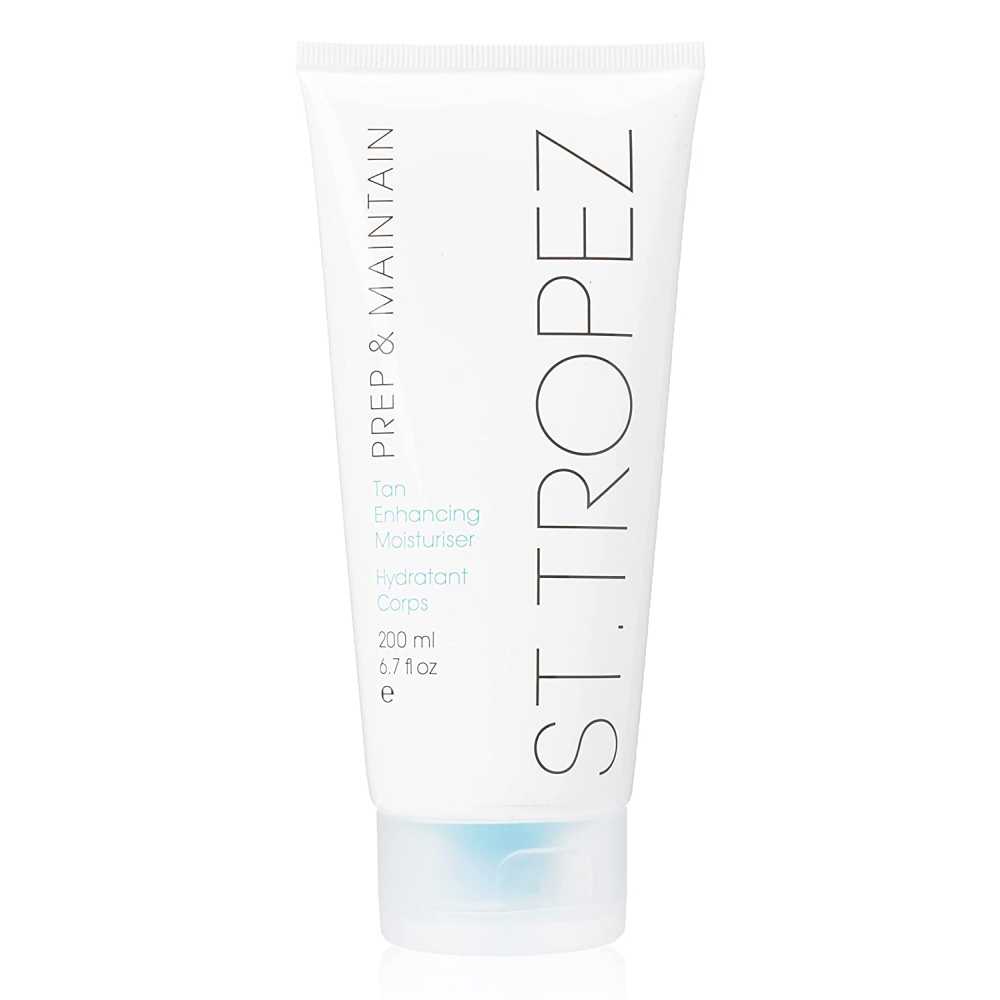
- Choose a lightweight, oil-free moisturizer that suits your skin type like the St. Tropez Prep & Maintain Tan Enhancing Moisturizer.
- Apply the moisturizer all over your body, focusing on dry areas.
- Massage it into your skin using gentle, circular motions until fully absorbed.
- Allow the moisturizer to dry for a few minutes before moving on to the next step.
By exfoliating and moisturizing your skin before self-tanning, you’re ensuring that your tan applies smoothly, lasts longer, and fades evenly. It’s a little extra effort that will make a big difference in your tanning results.
Remember, my friend, proper preparation sets the stage for a flawless tan. So, take the time to exfoliate and moisturize your skin, and soon you’ll be rocking that beautiful, bronzed look with confidence.
How To Apply Self Tanner With Mitt
Alright, let’s dive into the world of self tanning proper and how to apply it with a tanning mitt. Picture yourself on a sunny beach, wanting to achieve that gorgeous, sun-kissed glow without the harmful UV rays. Here’s a playful guide to help you achieve that perfect tan!
Step 1: Choosing the Right Self Tanner
When it comes to self tanners, you have a variety of options to choose from. Let’s explore some of the different types and their pros and cons.
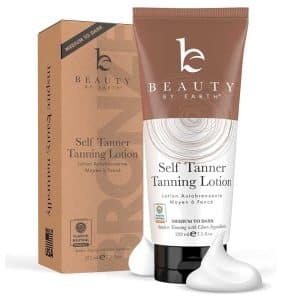
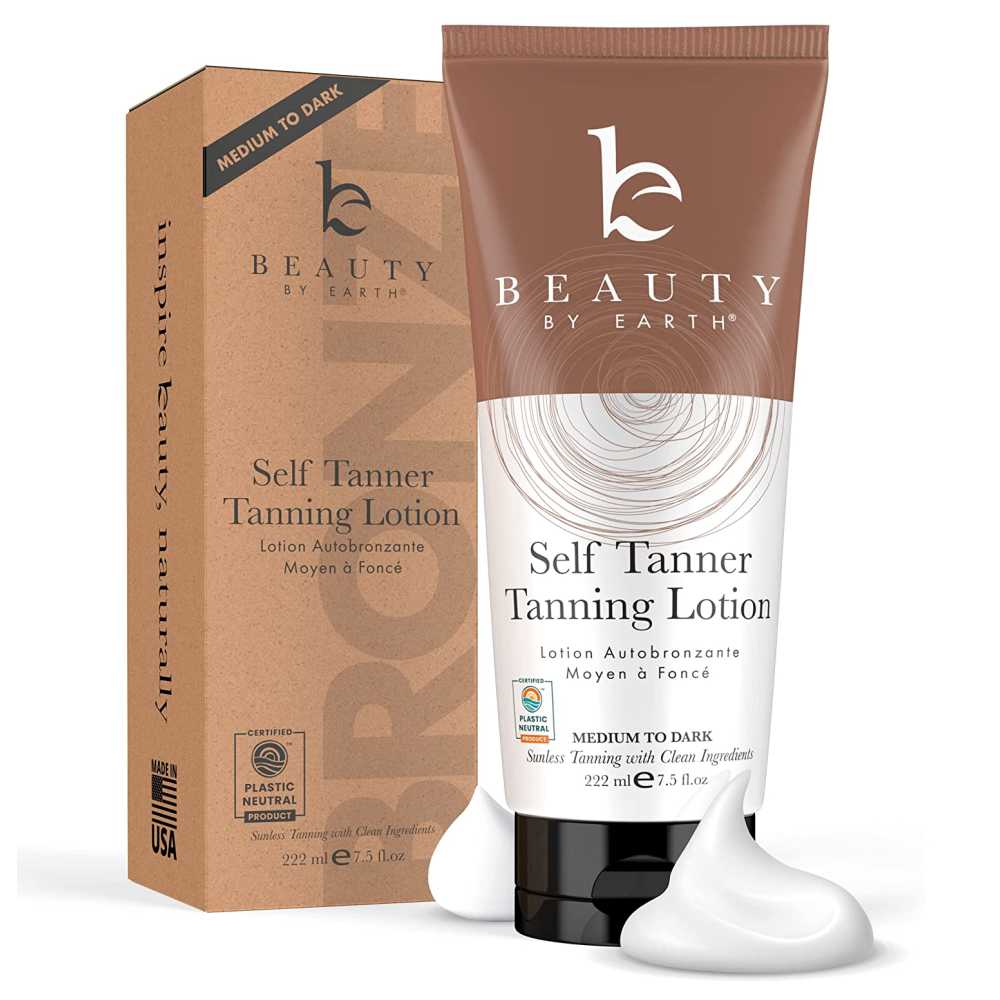
- Lotions: Self-tanning lotions are a popular choice among many tanning enthusiasts. They are easy to apply and provide gradual color development. You can find lotions that cater to different skin tones and offer a natural-looking tan. Some lotions even contain moisturizing properties, leaving your skin feeling soft and hydrated. Now, you may be wondering, “How do I use a tanning mitt with a self-tanning lotion?” Don’t worry, we’ll get to that soon!
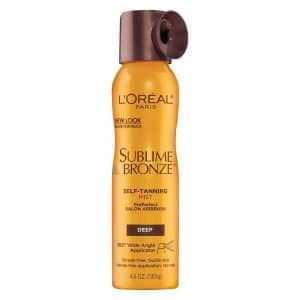
- Sprays: Self-tanning sprays offer quick and convenient applications. They typically come in aerosol cans, allowing for easy distribution of the product onto the skin. Sprays are great for hard-to-reach areas and can provide a more even tan. However, it’s important to be cautious and apply them in a well-ventilated area to avoid inhaling the spray. Remember to hold the can at an appropriate distance from your skin for optimal results.
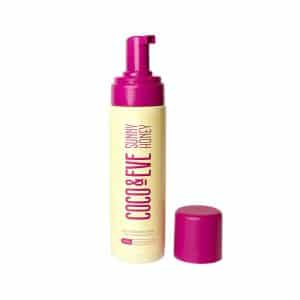
- Mousses: Self-tanning mousses have gained popularity due to their lightweight texture and quick-drying formula. They are generally easy to blend, which helps in achieving a streak-free finish. Mousses often provide a deeper and more immediate tan compared to lotions or sprays. They can be a fantastic option for those who want a more intense color.
If you are looking for a subtle, natural-looking tan or a deeper, more noticeable color, knowing your desired outcome will help you select the perfect self tanner.
If you’re aiming for a natural tan, a gradual self-tanning lotion may be your best bet. It allows for buildable color, so you can control the intensity of your tan. Look for lotions with moisturizing properties to keep your skin nourished and supple.
On the other hand, if you’re seeking a deeper tan or want faster results, a self-tanning mousse might be the way to go. Mousses often provide a more intense color and dry quickly on the skin, making them a popular choice for those who want a more noticeable tan.
Remember, it’s always essential to consider your skin type and any specific preferences you may have. Patch testing a small area of your skin with the self tanner before full application is a wise idea to check for any potential allergies or adverse reactions.
Now that you’ve learned about the different types of self tanners and how to choose the right one, it’s time to move on to the exciting part – applying self tanner with a tanning mitt!
Step 2: Dispense The Self Tanner Onto The Mitt
Firstly, it’s important to shake the self-tanner bottle well before use to ensure that the product is evenly mixed. Then, place a small amount of the self-tanner onto the mitt, being careful not to use too much product at once. The goal is to start with a light layer and build up gradually as needed.
Step 3: Evenly Distribute the Product
To evenly distribute the product on the mitt’s surface, you can use one of two techniques. The first technique is to apply the self-tanner directly onto the mitt and then rub the mitt together to distribute the product evenly. The second technique is to use your fingers to spread the self-tanner onto the mitt, making sure that the product is spread out as evenly as possible.
Once you’ve applied the self-tanner onto the mitt, it’s time to move on to the next step, which is applying the self-tanner onto your skin.
So remember, when dispensing self-tanner onto the mitt, use a small amount of product and start with a light layer, building up gradually. To evenly distribute the product on the mitt’s surface, either rub the mitt together or use your fingers to spread the self-tanner evenly.
Step 4: Applying Self Tanner to the Body
We’ll take a systematic approach to ensure even coverage on different body parts such as your legs, arms, and torso. Remember, the key here is to achieve a natural-looking tan while avoiding streaks and ensuring a seamless blend. So, let’s get started!
- Legs: Begin by grabbing your trusty tanning mitt, which side you should use? Well, remember, as we discussed earlier, you should use the side that feels comfortable for you. Now, pour a small amount of self tanner onto the mitt or directly onto your legs if you prefer. Starting at your ankles, apply the self tanner in upward circular motions. Work your way up to your knees, and then continue upward until you’ve covered your entire legs. Be sure to blend carefully around your knees, ankles, and feet for a natural transition.
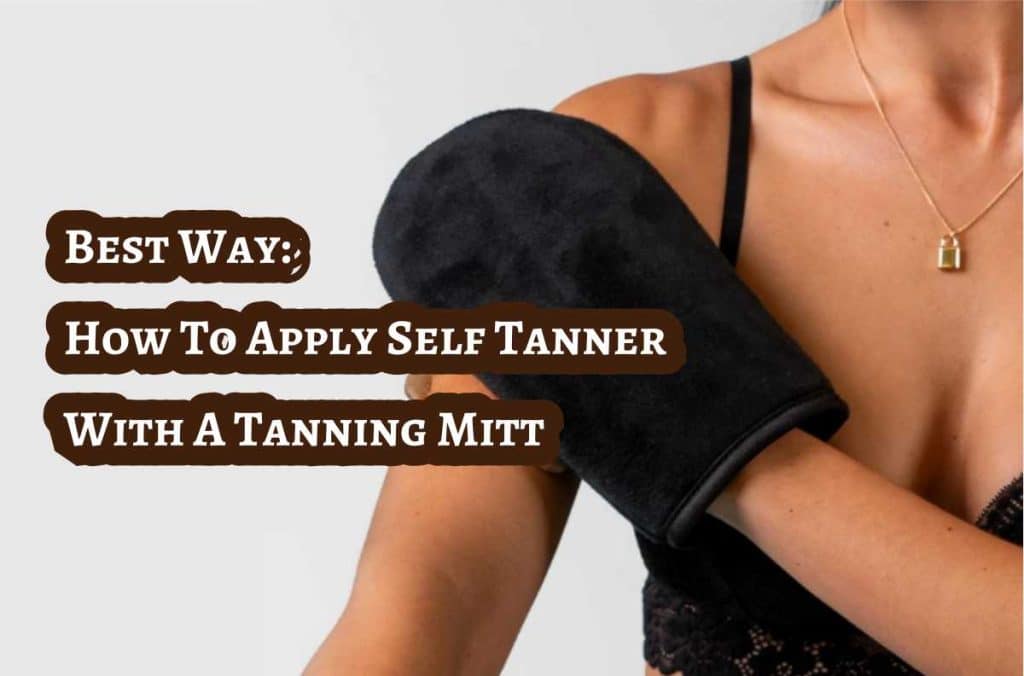
- Arms: Now, it’s time to give your arms a glorious sun-kissed look. Apply a small amount of self tanner to your mitt or directly onto your arms, starting from your wrists and moving upward. Use long, sweeping motions to cover your arms, making sure to blend thoroughly around your elbows and wrists. Don’t forget those often-neglected areas such as the back of your arms. Take your time and ensure even application for a flawless result.
- Torso: Ah, the center of attention! Let’s bring a radiant glow to your torso. Dispense a small amount of self tanner onto your mitt and start applying it in gentle circular motions to your abdomen. Gradually move upward, covering your chest, shoulders, and back. Remember to blend carefully along your neckline, underarms, and any areas where different body parts meet, ensuring a seamless transition and avoiding any tell-tale signs of self-tanner application.
Now that we’ve covered the systematic approach for different body parts, let’s talk about some essential tips to help you achieve a stunning, streak-free tan:
- Blending is the key: After applying the self tanner, go back over each area lightly with your tanning mitt or a clean, damp cloth to ensure a smooth and well-blended finish.
- Take your time: Rushing through the application process can lead to streaks and uneven color. Be patient and give each body part the attention it deserves for a flawless result.
- Difficult areas: When it comes to hard-to-reach areas like your back, you can ask a friend or use a back applicator tool designed specifically for this purpose. Remember to use gentle strokes and maintain an even application.
- Wash your hands: After applying the self tanner to each body part, make sure to thoroughly wash your hands to avoid staining your palms and fingers.
By following these tips you’re well on your way to achieving a stunning, sun-kissed look without the harmful effects of UV rays. Embrace your new radiant glow and confidently rock that gorgeous tan!
Applying Self Tanner To Face With Mitt
When it comes to giving your face a gorgeous sun-kissed glow, it’s essential to approach the task with precision and care. Here’s some guidance to help you achieve a flawless application while using a tanning mitt.
To begin, ensure that your face is clean and well-prepped. Gently cleanse and exfoliate your skin beforehand as discussed earlier to create a smooth canvas for the self tanner. Now, let’s talk about the tanning mitt. You may be wondering which side of the mitt to use for your face. Well, lucky for you, the soft and velvety side of the tanning mitt is the perfect choice for this delicate task. Its gentle texture helps to ensure an even and streak-free application.
- Squeeze a small amount of self tanner onto the soft side of the mitt. Remember, a little goes a long way, especially for the face.
- Start by applying the self tanner in light, circular motions, working your way from the center of your face outward.
- Pay close attention to blending the product into your hairline, jawline, and neck for a seamless finish.
Using a tanning mitt gives you better control over the application and prevent any harsh lines or uneven patches. So, as you apply the self tanner to your face, be mindful of using a light touch. The key here is to build up the color gradually, rather than applying too much product all at once. This gentle and controlled approach ensures a natural-looking tan that enhances your features without overwhelming them.
Aftercare and Maintenance Of Your Tan
Alright, let’s talk about the essential steps you need to take to maintain that beautiful self tan of yours! After putting in the effort to achieve a gorgeous golden glow, you certainly want it to last as long as possible. Here are some helpful tips to ensure your tan stays radiant and lingers on for an extended period:
To start, maintaining your self tan requires a little bit of Tender Loving Care (TLC). One effective way to prolong its lifespan is by using a gradual tanning lotion. These lotions work wonders in extending the duration of your tan while also providing a natural-looking color boost. By incorporating this into your aftercare routine, you’ll be able to enjoy that sun-kissed glow for an extended period.
Moisturize
Just like preparing your skin before tanning, moisturizing still plays a crucial role in keeping your self tan intact even after tanning. After each shower or bath, make it a habit to moisturize your skin thoroughly. Hydrated skin helps the tan to fade evenly, ensuring a more natural-looking result.
So, Opt for a moisturizer that is specifically formulated for self-tanned skin, as these are designed to nourish and hydrate without interfering with the tan itself.
While it’s essential to moisturize, you should also be mindful of certain activities that might cause your tan to fade quickly. For instance, prolonged exposure to water, especially in swimming pools or hot tubs, can break down the self-tanner and lead to premature fading.
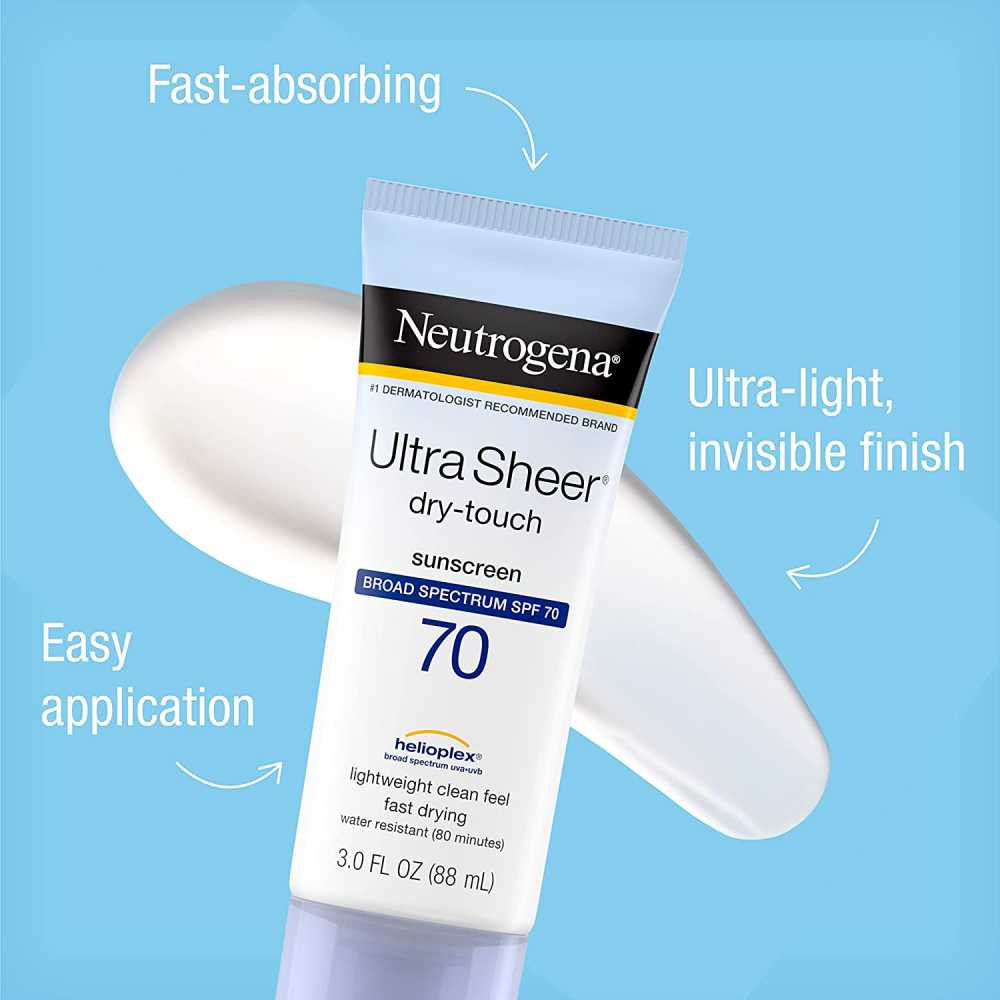
Additionally, when taking baths, exfoliating scrubs and harsh cleansers can also strip away your tan, so try to avoid using them excessively. If you’re heading out for a day in the sun, remember to use a broad-spectrum sunscreen to protect your skin while maintaining your beautiful tan.
Remember, by incorporating these aftercare practices into your routine, you can significantly increase the longevity of your self tan. Enjoy flaunting that radiant glow with confidence, and keep on shining like the sun!
Frequently Asked Questions (FAQs)
Which Side Of A Tanning Mitt Do I Use?
When using a tanning mitt, you should typically use a side that is velvety or soft. This side is designed to evenly distribute the self-tanner onto your skin for a smooth application.
Should Your Tanning Mitt Be Wet Or Dry?
Your tanning mitt should be dry when you apply self-tanner. Moisture can affect the product’s consistency and may lead to an uneven application. Make sure your mitt is completely dry before using it for the best results.
Do You Rinse Tanning Mitt After Using It?
Yes, you should rinse your tanning mitt after each use to remove excess self-tanner that may have built up on the mitt during application. A clean mitt ensures an even and streak-free tan the next time you use it. So, rinse and wash your tanning mitt thoroughly with warm water and mild soap to remove any residue from the self-tanner. Gently squeeze out the excess water and allow it to air dry completely before storing.
Can I Use A Tanning Mitt On My Hands And Feet?
Using a tanning mitt on your hands and feet is perfectly fine! In fact, it can help ensure an even and natural-looking tan. Just make sure to apply a small amount of self-tanner on the mitt and deeply rub it onto your hands and feet, focusing on blending in around the edges.
Do You Put Self-Tanner On The Mitt Or On the Skin?
You should put the self-tanning product directly onto the tanning mitt. Apply a small amount of self-tanner onto the mitt and then use the mitt to distribute the product onto your skin. This helps you achieve a more even and controlled application.
Can I Use A Tanning Mitt For Other Self-Tanning Products Besides Lotion?
Yes, you can definitely use a tanning mitt for other self-tanning products besides lotion! Whether it’s mousse or spray, a tanning mitt is the perfect tool to ensure an even and streak-free application. So if you’re someone who loves experimenting with different types of self-tanners, investing in a quality tanning mitt will save you time and frustration in achieving that flawless sun-kissed glow.
How Many Layers Of Self Tan Should I Do?
The number of layers of self-tan you apply depends on the desired level of color. Start with a single layer and allow it to develop according to the instructions on the product. If you desire a deeper tan, you can apply additional layers, allowing each layer to dry before adding the next. However, it’s important to avoid over-application to prevent an unnatural or streaky appearance.
Does Layering Fake Tan Make It Darker?
Yes, layering fake tan can make it darker. Applying multiple layers of self-tanner allows for a more intense and deeper tan. However, be cautious not to overdo it, as too many layers can lead to an unnatural or uneven result.
Is There A Specific Type Of Self Tanner That Works Best With A Tanning Mitt?
No, not really! You can use any self-tanner formula you prefer with a tanning mitt – whether it’s a mousse, lotion, or spray. The key is in the application technique and ensuring even coverage on all areas of your body. So don’t feel restricted by product types; embrace your freedom to choose what works best for you and get ready to rock an enviable glow!
What Is The Best Amount Of Time To Leave Self Tan On?
The ideal amount of time to leave self-tan on varies depending on the product and your desired level of color. Typically, it is recommended to leave self-tan on for about 4 to 8 hours before rinsing or washing it off. However, always refer to the instructions provided by the specific self-tanning product you are using for the most accurate guidance.
Should You Apply Lotion Before Self-Tanner?
No, it is not recommended to apply lotion before self-tanner. Lotion can create a barrier on your skin, preventing the self-tanner from being properly absorbed and resulting in an uneven or patchy tan. It’s best to apply self-tanner on clean, dry skin for optimal results.
Should You Moisturize Before Fake Tanning?
Yes, it is important to moisturize before fake tanning. However, ensure that you start moisturizing daily a day or two leading to the day of applying the self-tanner, not immediately before. Moisturizing helps to hydrate and prepare your skin, making it more receptive to the self-tanner and promoting a smoother, more even application.
How Long Should I Wait Between Layers Of Fake Tan?
To achieve a more gradual and natural-looking tan, it is advisable to wait at least 6 to 12 hours between layers of fake tan. This allows the previous layer to fully develop and ensures that each layer is evenly applied. Waiting between layers helps you achieve the desired depth of color while reducing the risk of streaks or uneven patches.

I’m Akin, your dedicated Editor-in-Chief and a fervent skincare enthusiast. Self-care is my true passion, and each year, I embark on a thorough exploration of self-tanning products, ranging from lotions to mists. This forms the bedrock of our commitment to delivering top-notch information to our readers. My extensive research and precise product rankings empower you to make informed decisions tailored to your specific skincare needs.
Unlock the Secrets to Achieving Your Ideal Tan with This Comprehensive Checklist