As an Affiliate, We may earn a commission that doesn't cost you extra from qualifying purchases using links in this post. It helps keeps this blog running.
Washing a used tanning mitt after every usage is important to maintain good hygiene and freshness of your mitt. Tanning mitts that have been washed and dried properly will stay mildew-free for longer, saving you money and shopping time in the long run.
It’s true that tanning mitts are reusable but they should be cleaned thoroughly after every use. Since they are used to apply tanning lotion all over your body, they can become dirty very quickly, whether it’s from the tanning lotion itself or other things in your bathroom.
Read A Specific Section
Should You Hand Wash A Tanning Mitt?
Tanning mitts are made of thin microfiber that dries quickly. Because of the thinness of the material, and the mitt size, it may be better to hand wash your tanning mitt instead of washing the mitt in a washing machine. Putting something so thin and small like a tanning mitt alone through a washing machine could result in holes and tears. It is also recommended to hang dry your mitt so the thin fibers do not get too stretched out.
Although you can easily just rinse the self-tanning mitt with water and then hang it up to dry. This sounds quick and easy, but will not get rid of excessive tanning solution that may still remain on the outside of the mitt. If not properly washed, this could lead to staining and streaking when using the mitt again.
So, how best can you wash your tanning mitt by hand?
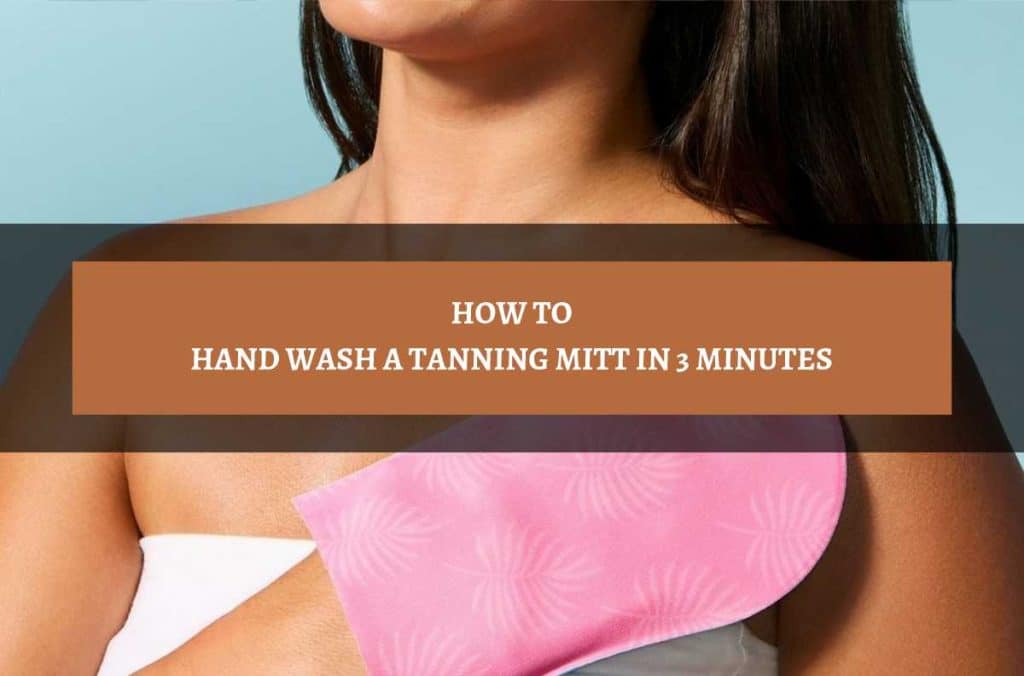
So, Here’s How To Hand Wash A Tanning Mitt

The guide below can is a brilliant one to help you hand wash your tanning mitt if you want to save money by saving energy consumption, don’t have a washing machine, or your washing machine has become faulty.
Total Time: 3 minutes
-
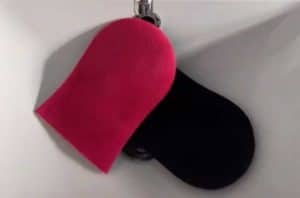
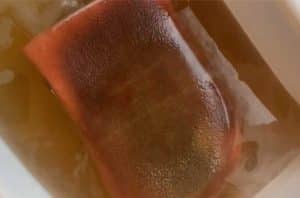
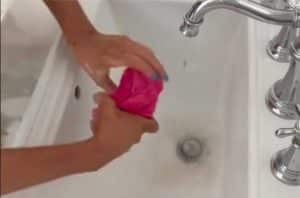
Spread Out The Tanning Mitt In A Clean Bucket, Or Sink

Depending on how large your load of mitt is, you’ll want to use one of these containers. First, make sure the container is clean, if not then scrub them clean with plenty of soap and fresh water. When you finally put the tanning mitt in, make sure it is well spread out and not knotted or bunched together.
-
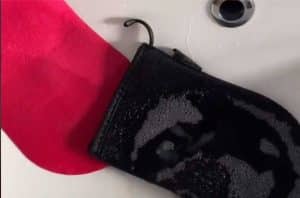
Fill The Bucket Or Sink With Water And A Little Detergent
Fresh cold water is fine, you do not need hot or warm water unless the tanning mitt has been abandoned with tanning solutions for a long time. In order to maintain your tanning mitt always use cold water with eco-friendly detergent when hand washing after each use. This will help extend its life and protect both you and the environment from harsh chemicals.
A typical 5-gallon of water will require about a tablespoon of detergent. Use your judgment and add more detergent if the mitt is particularly dirty.
-
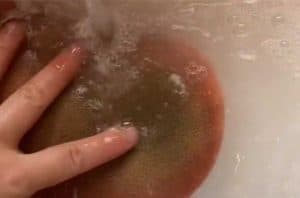
Let The Tanning Mitt Soak For A While Depending On How Dirty It Is
Put the tanning mitt in the bucket and push it under the water until it is completely submerged. Allow it to sit for at least 10 minutes. A large load of mitt should be left to soak for 30 – 55 minutes, so the detergent can penetrate the stains for easy hand wash. This soaking is a great hack that will save you a lot of effort by removing a portion of the dirt even before you begin hand washing the mitt.
-
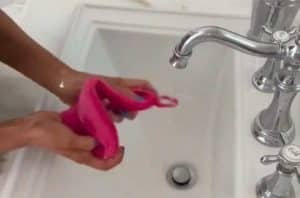
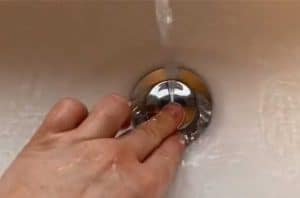
Rub The Mitt Surface Together Gently Using Your Two Hands
Rub the tanning mitt together in the palm of your hands to work up a gentle lather. Rinse in the water again and repeat if necessary until there is no tanning solution build-up.
Do not rub roughly on your tanning mitt since it could tear the material, especially if you are using harsh detergent. If there are still some stubborn stains remaining even after rubbing the surface for a while, do not continue to rub or punish yourself by hand washing it anymore because you will be tired out before you know it. Instead, apply a little bleach to the part where the stubborn tanning lotion stain is and let it sit on it for about 3 minutes before rubbing with your palms again.
-
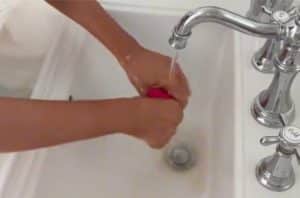
Squeeze Out The Mitt
Twist the tanning mitt by hand in both directions, to squeeze out as much excess soapy water from it as possible. But do not wring it out with too much force because you can end up stretching the fibers of the mitt which will lead to holes and tears later.
-
Rinse The Mitt Again In Fresh Water And Let It Soak
The new fresh water should be good enough to clean off the soapy residue from the tanning mitt. So, rinse in cold running water and let it soak for a while.
You can either move the tanning mitt to a new fresh bucket of water or empty the current container and fill it again with fresh water. A brilliant hack is to try and rinse the mitt in the running water as you refill the bucket. Leave it in the water to spread and soak for about five minutes. Seeing as you already have soapy water trapped inside the tanning mitt during hand washing, this will allow you to get a greater amount of soap out with less stress.
-
Drain Away The Dirty Water And Rinse Again
You can use your hand or a colander to drain out the dirty soapy water gently. Rinse again thoroughly with fresh cold running tap water until it is completely free of soapy residue or smell if any. If you are using bleach, make sure you dilute it well before draining it away so that the bleach does not dry on the mitt.
-
Now Wring The Tanning Mitt For The Last Time
To drain the water away almost completely from the mitt, you may need to squeeze out a little excess water with your hands after removing it from the colander.
-
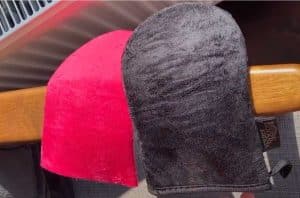
Then Hang The Mitt Outside
Now, take the mitt outside and hang it in a well-ventilated area with sunlight to dry. The longer you let your tanning mitt sit around wet, the more chance you give mildew to grow on it. Always dry your self-tanning mitt in an area with good airflow immediately after you’re done hand washing it to keep them fresh.
Try to spread it out so there are no bunches and so that each part of the mitt dries evenly to increase the tanning mitt’s life span.
-
Store In A Dry And Breathable Bag
When it is completely dry, store it in a clean breathable bag like this Canvas Storage Bag from Amazon until ready for next time. This will ensure that your mitt does not get creased or folded in storage and it also keeps any dust or grime away from the mitt. It should ideally be stored in a cool, dry place.
I hope these steps help you to extend the life of your tanning mitt as much as possible and make your next self-tan session an easy-breezy one!

I’m Akin, your dedicated Editor-in-Chief and a fervent skincare enthusiast. Self-care is my true passion, and each year, I embark on a thorough exploration of self-tanning products, ranging from lotions to mists. This forms the bedrock of our commitment to delivering top-notch information to our readers. My extensive research and precise product rankings empower you to make informed decisions tailored to your specific skincare needs.
Unlock the Secrets to Achieving Your Ideal Tan with This Comprehensive Checklist