As an Affiliate, We may earn a commission that doesn't cost you extra from qualifying purchases using links in this post. It helps keeps this blog running.
Tanning mitts not only successfully remove an old tan, but they also make tan application a pleasure. A mitt has a significantly wider surface area than your hand, which speeds up application and makes reaching your back much simpler.
Nonetheless, they must be washed after every use to prevent the spread of bacteria and germs. An unclean mitt can result in ugly stains while using it for a tan. In order to avert tanning product residue from building up in different sections of the glove after each usage, it is recommended that tanning mitts be cleaned after each use.
The question, nevertheless, is can one wash a tanning mitt in a washing machine? And if it is okay to dry a tanning mitt with a dryer?
In this blog post, we will extensively cover all the concerns that come to mind when trying to clean a tanning mitt in a washing machine and properly dry a tanning mitt.
Before delving deeper into learning how to wash tanning mitts in a washing machine, it is important to know what materials these tanning mitts are made from.
Read A Specific Section
So, What are Tanning Mitts made from?
The majority of tanning mitts are composed of cotton, while some have a velvety texture that feels exquisite in your hand.
During the application of self-tanners, your hands could get discolored if they are not protected with tanning mitts. It’s nonetheless possible to get a glove that is all cotton while having a satin-like lining on the inside to protect your hands.

There have been several tanning mitts made from different materials over the years, but the most prominent ones are:
Fortunately, since velvet, wool, cotton, and satin are currently the most common materials utilized to make mitts, it is common knowledge that they’re reusable and washable. Replacement rubber mitts are also affordable and reusable, so you can use them again and again. They are also easily disposable, even if you don’t intend to wash or reuse them.
Knowing what kind of material a mitt is made of can affect and help decide how you clean and care for it. It’s easier to keep cotton, velvet, and absorbent fabric, such as a terry cloth towel tanning mitt clean by just simply washing them in warm, but not hot, water.
You should do your basic research before buying a tanning mitt, especially given the wide range of choices (and the fact that some manufacturers are passing microfiber or nylon off as “cotton”).
Are all Tanning Mitts the Same?
Nope! Tanning mitts aren’t the same and they are definitely not one-size-fits-all. When shopping for a tanning mitt, keep in mind that the material and color are the two most critical considerations. In order to make a knowledgeable judgment about whether or not your mitt is right for you, you should first examine the material it’s built from. Is this something you’ll be comfortable with using in the future?
What of the color? Is the mitt too light for me to keep clean? Is this mitt machine washable?
If you are unable to keep and wear a lighter color mitt, go for brown, dark, or black mitts. What’s more, there’s no rule you should use a white mitt. Tanning mitts come in a variety of hues, from light to dark.
If you’re unsure about which color works well for you, consult the staff at the store where you plan to get your mitt.
Some tanning salons typically give new mitts to their customers when they purchase their first session, but there is often always an extra one that can be requested. Having two mitts on hand means that if one gets dirty, you have another to fall back to pending the time you wash the first one or pending the time it’s dried.
Can You Wash Tanning Mitt in A Washing Machine?
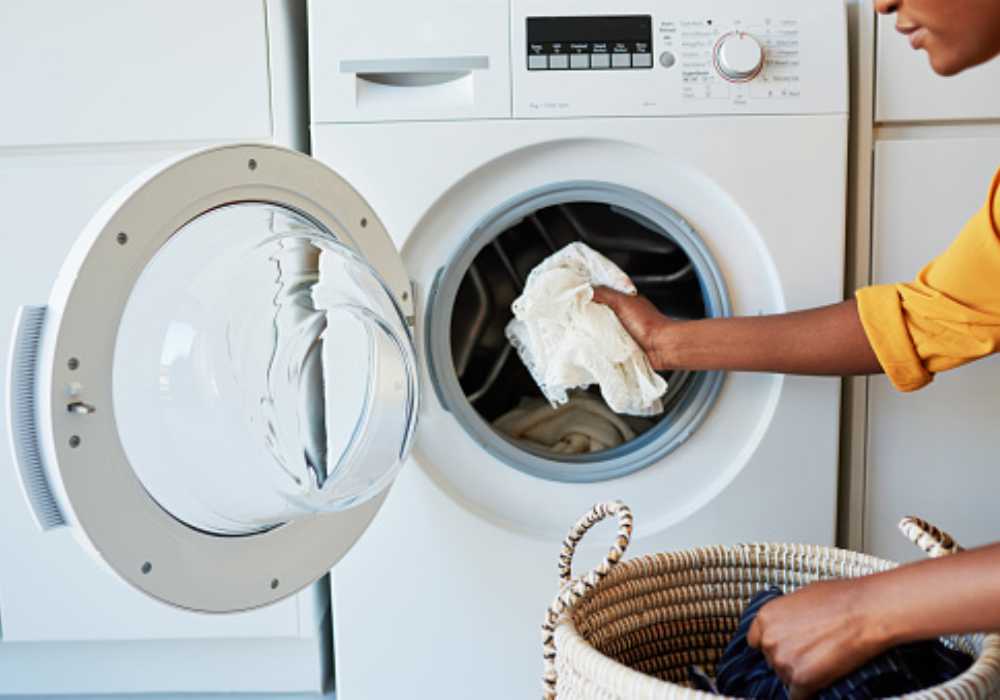
Absolutely! You can wash a tanning mitt in a washing machine. Washing a tanning mitt in a washing machine is an absolute time-saver. Although, you can choose to hand wash your mitt in warm (not hot) water, or you can do it the uncomplicated way by hurling it into your washing machine on a 30° cycle.
If you’re using a cheap and colorful mitt, be aware that the color may bleach, and the washing machine may misshape or even shrink it.
You should avoid washing your dirty tanning mitt with any other garments or things, regardless of quality, because the tanning residue can stain other fabric fibers and materials.
How to Clean and Wash a Tanning Mitt In a Washing Machine
Just like most fabrics, especially cotton tanning mitts, they can also be washed with a washing machine using the same process you’ll follow when washing your cotton fabrics.
Things You Need
- Clean, warm water
- Washing machine
- Detergent
Steps to Clean Tanning Mitt in a Washing Machine
Step 1. Separate Your Mitt
If you have a different mitt you would love to clean, the first step to washing is to sort your mitt into different piles based on fabric type and color.
Step 2. Select the Right Washing Cycle
Depending on the washing machine, your machine’s wash cycles may have just two essential speeds: the speed at which the machine tumbles or agitates your mitts with water; the other is the pace that whirls the water out of your mitts.
Step 3. Set the Correct Water Temperature
Using the correct water setting in your washing machine can make a lot of difference in your mitt. In this case, the required temperature is 30°.
Step 4. Add Detergent
Before adding your choice of detergent, make sure you read your washing machine’s manual to find out which goes where.
Step 5. Load the Washing Machine
This is the stage where you load your mitt into your washing machine. In case you are running a saloon and have so many mitts to wash, make sure not to overcrowd your mitts. Overloading the machine may result in the mitts not being washed as they should be.
Step 6. Turn on the Washing Machine
Latch the door, push the Start button, and you’re good to go. If the door isn’t closed properly, certain washing machines will give an indication, but not all of them can. Before you begin, make sure to double-check that everything is in order to avoid accidents!
You should always wash and properly rinse your tanning mitt after each use, then let it dry. Be sure not to leave it in a damp environment like the tub or shower because it may grow molds. Instead, dry it in a well-ventilated area like outside your compound where it can get sunlight and fresh air that will keep it dry until you’re ready to use it again.
How to Dry a Tanning Mitt
The first thing that comes to mind after you wash your mitt in a washing machine would be to dry it as well. So, after you clean your mitt in a washing machine, you will also want to pump out any extra water from the mitt and prepare to dry it.

To properly dry a tanning mitt, these steps should be followed:
- Step one: Clean the lint screen or filter of your dryer
- Step two: Bring your washed mitt out of the washing machine
- Step three: Carefully shake and inspect your mitt before loading it into the dryer
- Step four: Turn your dryer to the desired cycle
- Step five: Add your softener sheet
- Step six: Remove your dried mitt and hang it in a well-ventilated area immediately
However, you should note that drying in a dryer is not very much encouraged since a dryer can shrink or ruin your tanning mitt. Therefore it’s best to air dry it.
How Long Does a Tanning Mitt Take To Dry?
Depending on the material of the mitt, the weather, and surroundings, If your mitt fabric is cotton and the weather is fairly sunny, it may take up to five hours for your tanning mitt to dry completely.
Although a tanning mitt can dry in as little as three hours on a very sunny day, and can also take roughly five hours or more on an overcast day. So, if you are really in a big hurry or impatient, it’s best to make use of a cloth dryer or a hairdryer to quicken the drying process.
Can You Put a Self Tanning Mitt in the Dryer?
Yes! You can put a self-tanning mitt in the dryer as long as it’s done in moderation. Nonetheless, it depends solely on the kind of fabric the mitt is made from. For instance, mitts made from cotton and wool fabric can withstand the heat of a cloth dryer like nothing happened. But mitts made from rubber can not, so rubber tanning mitts should be kept as far away from your dryer as possible.
Can You Tumble Dry a Tanning Mitt?
Of course, you can tumble dry a tanning mitt. Like it’s stated earlier, tanning mitts are made from different materials and the kind of material your tanning mitt or glove is made from will dictate the type of care it’s given. Even though it’s best to dry your mitt outside naturally outside on the washing line where it can get direct sunlight and fresh air, we cannot dispute the fact that tumble drying makes drying faster. So, if your tanning mitt has a label with the tumble dry symbol then sure, the mitt can safely be dried in a tumble dryer.
You might wonder, what if my tanning mitt doesn’t have a washing instruction label, then see the list below for types of material you can tumble dry.
- Acrylic
- Cotton
- Denim
- Linen
- Velvet
- Microfibre
- Polyester
- Spandex
If your tanning mitt is made from any of the material above, then you sure can tumble dry it.
How Often Can You Wash A Self Tanning Mitt?
It’s recommended to wash tanning mitts after every use to keep them clean and in usable condition. If you use your tanning mitt every day, then wash it every day if not, wash it as soon as you are done using it. If you use it once a week, wash the mitt once a week after using it, use your tanning mitt once in 3 months? Then wash it once in three months after usage. Of course, this is keeping in mind that it’s been kept in a clean condition before every usage.
Although, as with everything else, consistent usage of a mitt will shorten its lifespan which is why it’s wise to have more than one mitt so you can rotate between usage thereby prolonging the life of each individual mitt. Having at least three tanning mitts is a good one because you have more flexibility in rotating them and extending the life of each one.
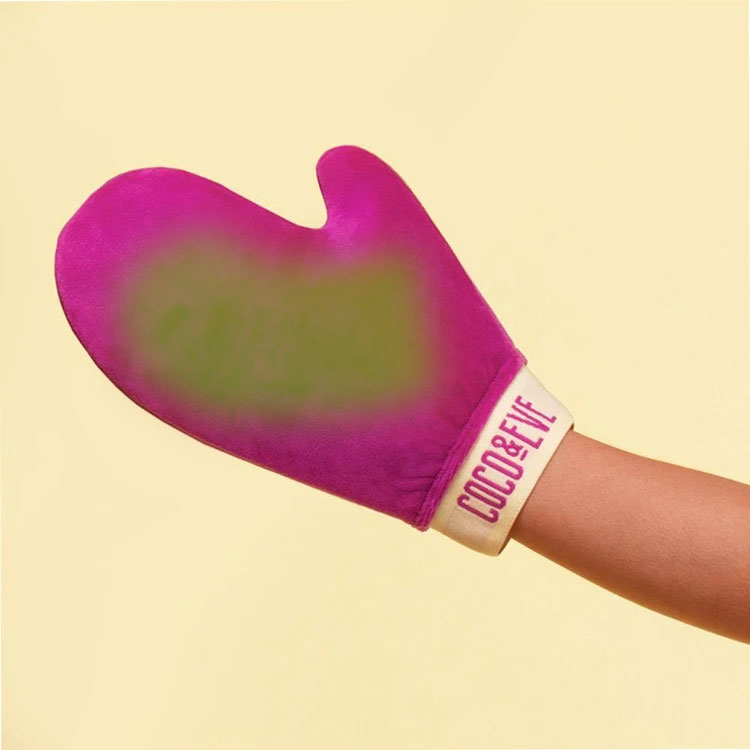
Here Is Why Your Tanning Glove Is Green
It may seem odd but do not panic if your tan mitt turns green as it is normal because some self-tanners have green undertones in order to counteract other substances in the tanner that could make your skin look overly orange.
So, when your tanning glove turns green, it’s not about your glove or a mold growing in your mitt, it’s actually the type of tanner you are using.

Tanner with green overlays will naturally not turn green, but below are some reason why your self tanner might make your tanning mitt turn green.
- The tanner is expired
- You have an olive-toned skin which contradicts the usage of the particular self tanner you are using
- You have used some moisturizer or bath soap with interfering deodorants
- Your body sweat causes a reaction with the self tanner you are using
- The tanner is stored in an extreme temperature which has caused the product to oxidize. This can happen if a self tanner is stored in direct sunlight.
Conclusion
There are no long-term health consequences from not washing your tanning mitt immediately after use. However, cleaning and washing your tanning mitt after each usage is hygienic. In the event that you cannot wash your mitts immediately after each usage, consider purchasing additional mitts for rotation or switch to disposable tanning mitts.
Dead skin cells and dangerous bacteria can thrive in moist mittens and gloves, making them a breeding ground for germs. So, washing your tanning glove and allowing them to properly dry in a well-ventilated area after each use removes dead skin cells and kills germs, which in turn refreshes the mitt, so it is reusable and makes it last longer.

I’m Akin, your dedicated Editor-in-Chief and a fervent skincare enthusiast. Self-care is my true passion, and each year, I embark on a thorough exploration of self-tanning products, ranging from lotions to mists. This forms the bedrock of our commitment to delivering top-notch information to our readers. My extensive research and precise product rankings empower you to make informed decisions tailored to your specific skincare needs.
Unlock the Secrets to Achieving Your Ideal Tan with This Comprehensive Checklist


